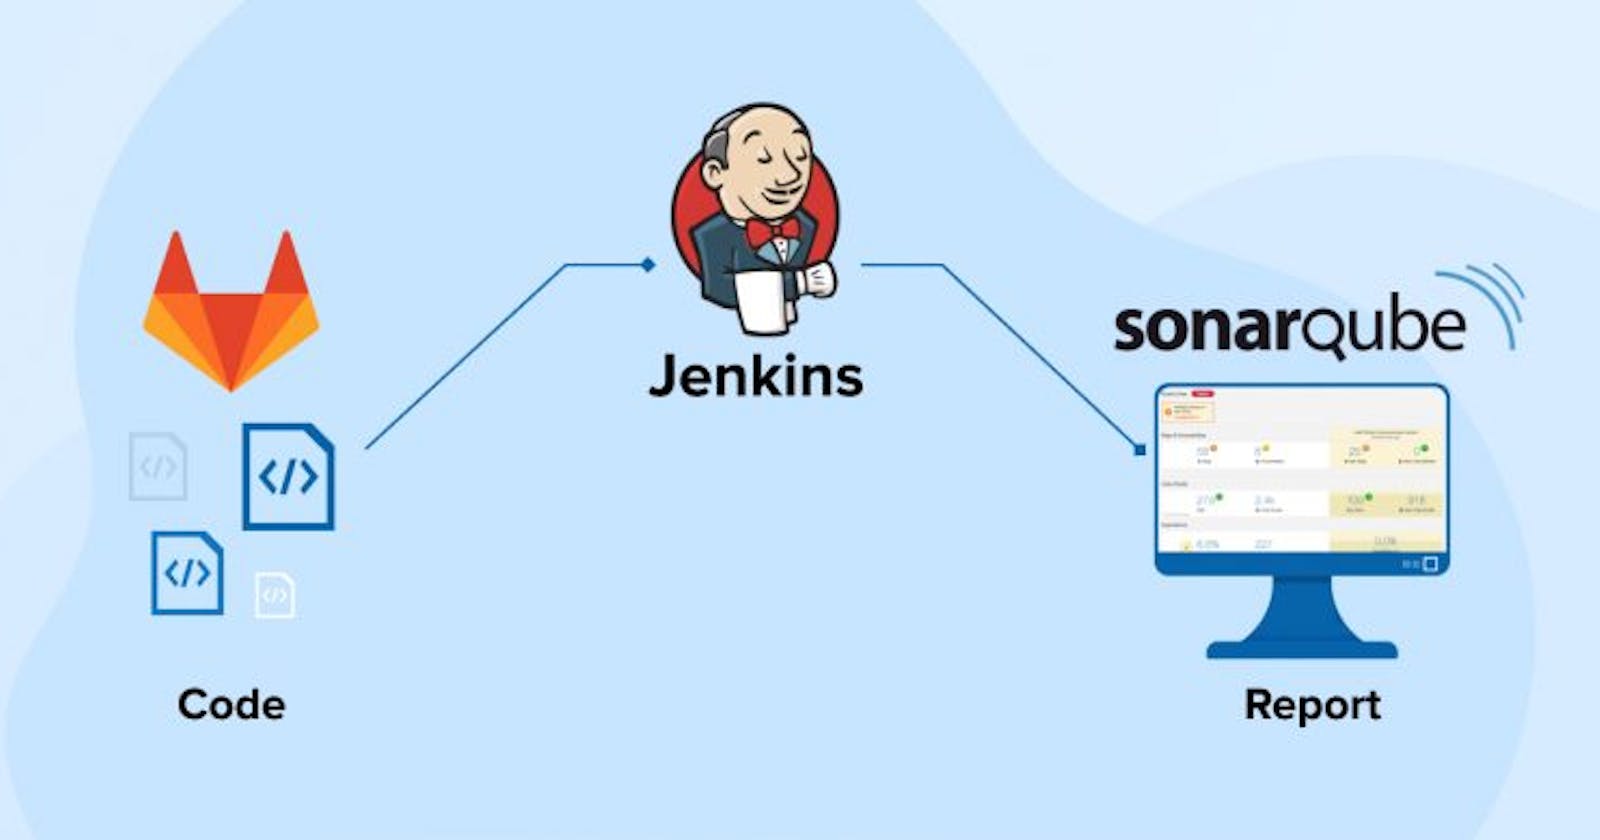
Welcome to our blog! Today, we're going to learn how to link Jenkins with SonarQube for top-notch code analysis. Don't worry if you're new to this – we'll guide you through each step using easy-to-understand language.
We're keeping things local by using Jenkins and Docker on your own machine. Plus, we have set up SonarQube latest effortlessly with Docker. By the end, you'll see how this integration can supercharge your code quality assessment.
Ready to make your coding life easier? Let's get started!
#Prerequisites:
Jenkins server running.
SonarQube running.
Jenkins: Install Sonar Scanner Plugin
Open Jenkins
Click Manage Jenkins
Click Plugins -> Search for Sonar Scanner and install.
SonarQube: Create Project and Credentials:
Login to SonarQube with username: admin and password: admin.
Next click Create Local Project -> give name -> select branch as main -> next use global settings -> and click create project.
Click locally -> give token name ( any name ) -> generate the token.
Copy the token and paste it in notepad.
Jenkins: Add SonarQube credentials in Jenkins Credentials
Open Jenkins -> Click Manage Jenkins -> Credentials -> System -> Global Credentials.
Select secret text from drop down -> paste the token copied to notepad in text box -> Id give any name.
Create.
Jenkins: Add SonarQube Server:
Click Manage Jenkins -> Click System
Go To sonarqube server section
Tick Environment Variables checkbox
Give any name you want.
And give the URL of sonarqube i.e. IPofmachine/9000 as sonarqube is running on the docker container.
Next you need to select your authentication token saved in credentials.
Click Save

Jenkins: Configuration in Pipeline
Under build environment section tick Prepare SonarQube Scanner environment in checkbox.
Dialog box will appear inside you need to provide the server authentication token. Select the token from the drop down name of your token created in step 4 will appear there.
Jenkins: Setting the Properties:
Under the Jenkins Job Pre Steps select Execute SonarQube Scanner from the drop down.
Under JDK select inherit from job.
Next in analysis properties add the below properties:
Change the project.Key, projectName according to your created project in sonarqube.
  sonar.projectKey=java
  sonar.projectName=java
  sonar.projectVersion=1.0
  sonar.language=java
  sonar.tests=src/test/java
  sonar.sources=src/main/java
Boom, you have integrated Jenkins with SonarQube and ready to run your job.
In conclusion, integrating Jenkins with SonarQube opens up a world of possibilities for enhancing your code quality analysis. Through the steps outlined in this blog, you've learned how to seamlessly connect these two powerful tools, all within the comfort of your local environment. I hope this guide has been informative and helpful in your quest for better code quality. If you have any questions or feedback, feel free to reach out. Happy coding!
